PROTOTYPE! – 03/31/2018
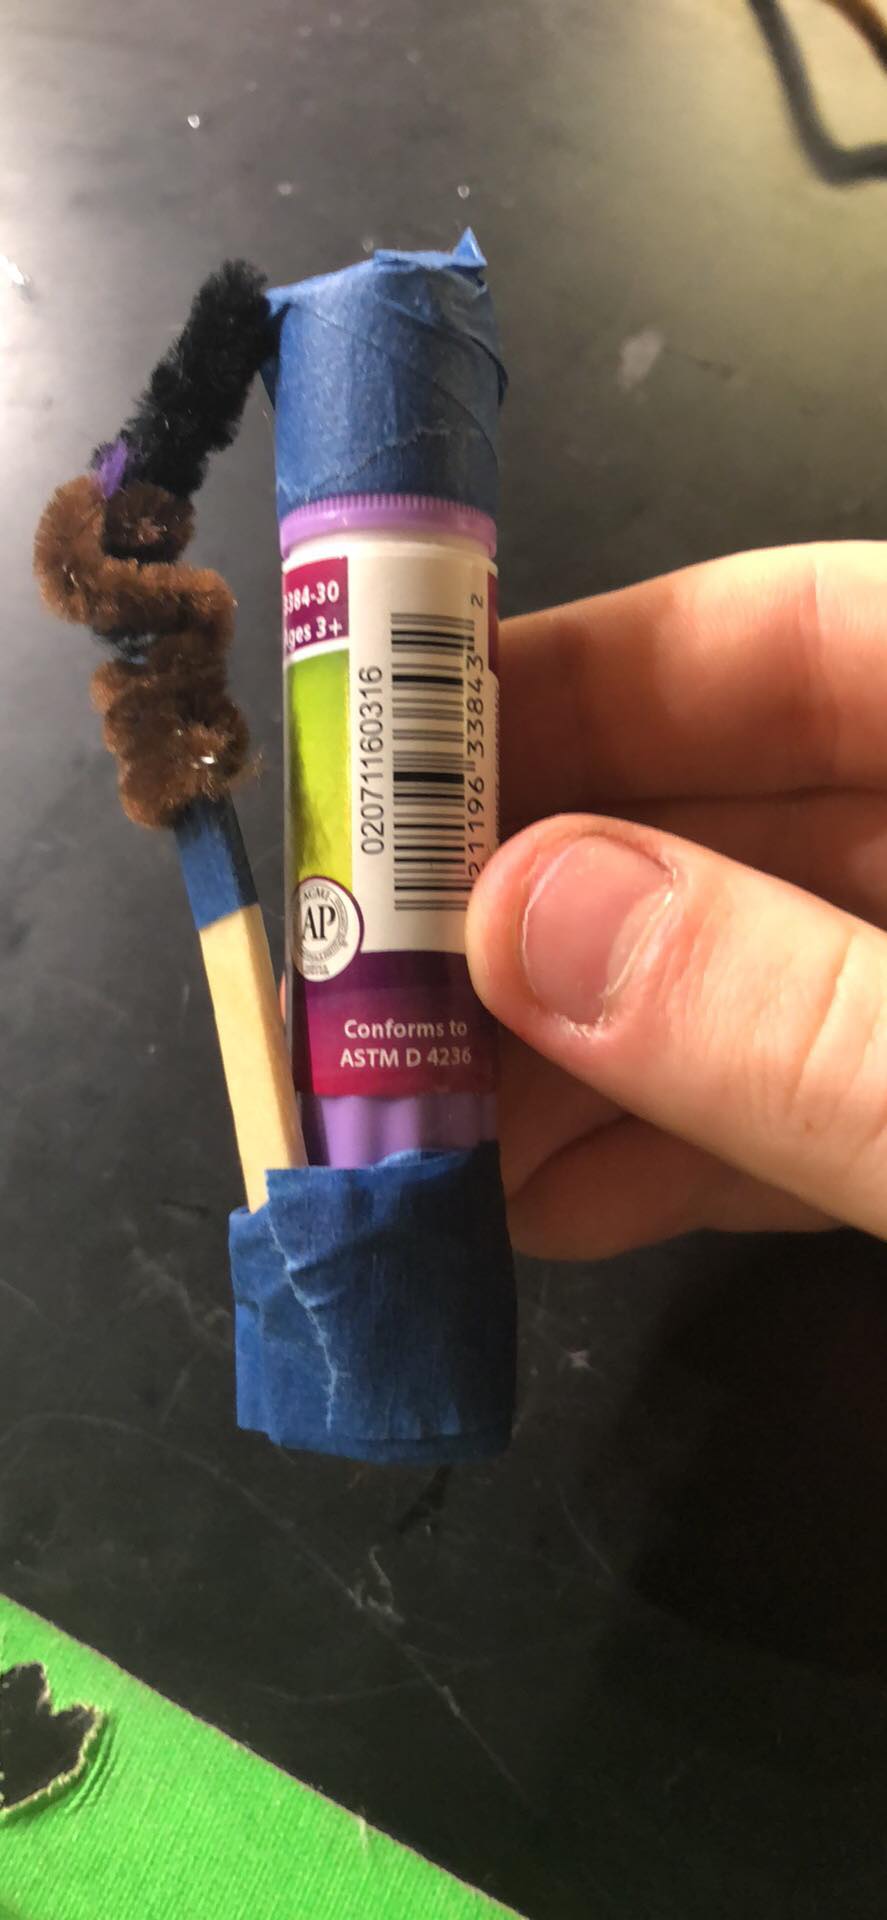
Last week, we had brainstormed ideas; this week, we were able to bring those ideas to life through prototypes. We went to the OEDK and produced low-fidelity prototypes our ideas as shown in the pictures, using pipe cleaners, play-doh, rubberbands, and other available resources. Due to the limited number of chapstick we had, some of us used gluesticks to pose as chapsticks.
While prototyping, we created a chart to evaluate the pros and cons of each of the prototypes we made based off of our measures of success. Our measures of success include having an intuitive design, making the process of taking off cap and dispensing chapstick easier, and not losing the cap.
An insight we gained while prototyping was that the twisting bottom of chapstick that is used to dispense chapstick is quite thin, across varying brands of the original chapstick design.
In general, some of the prototypes had similar designs or aspects to the designs.
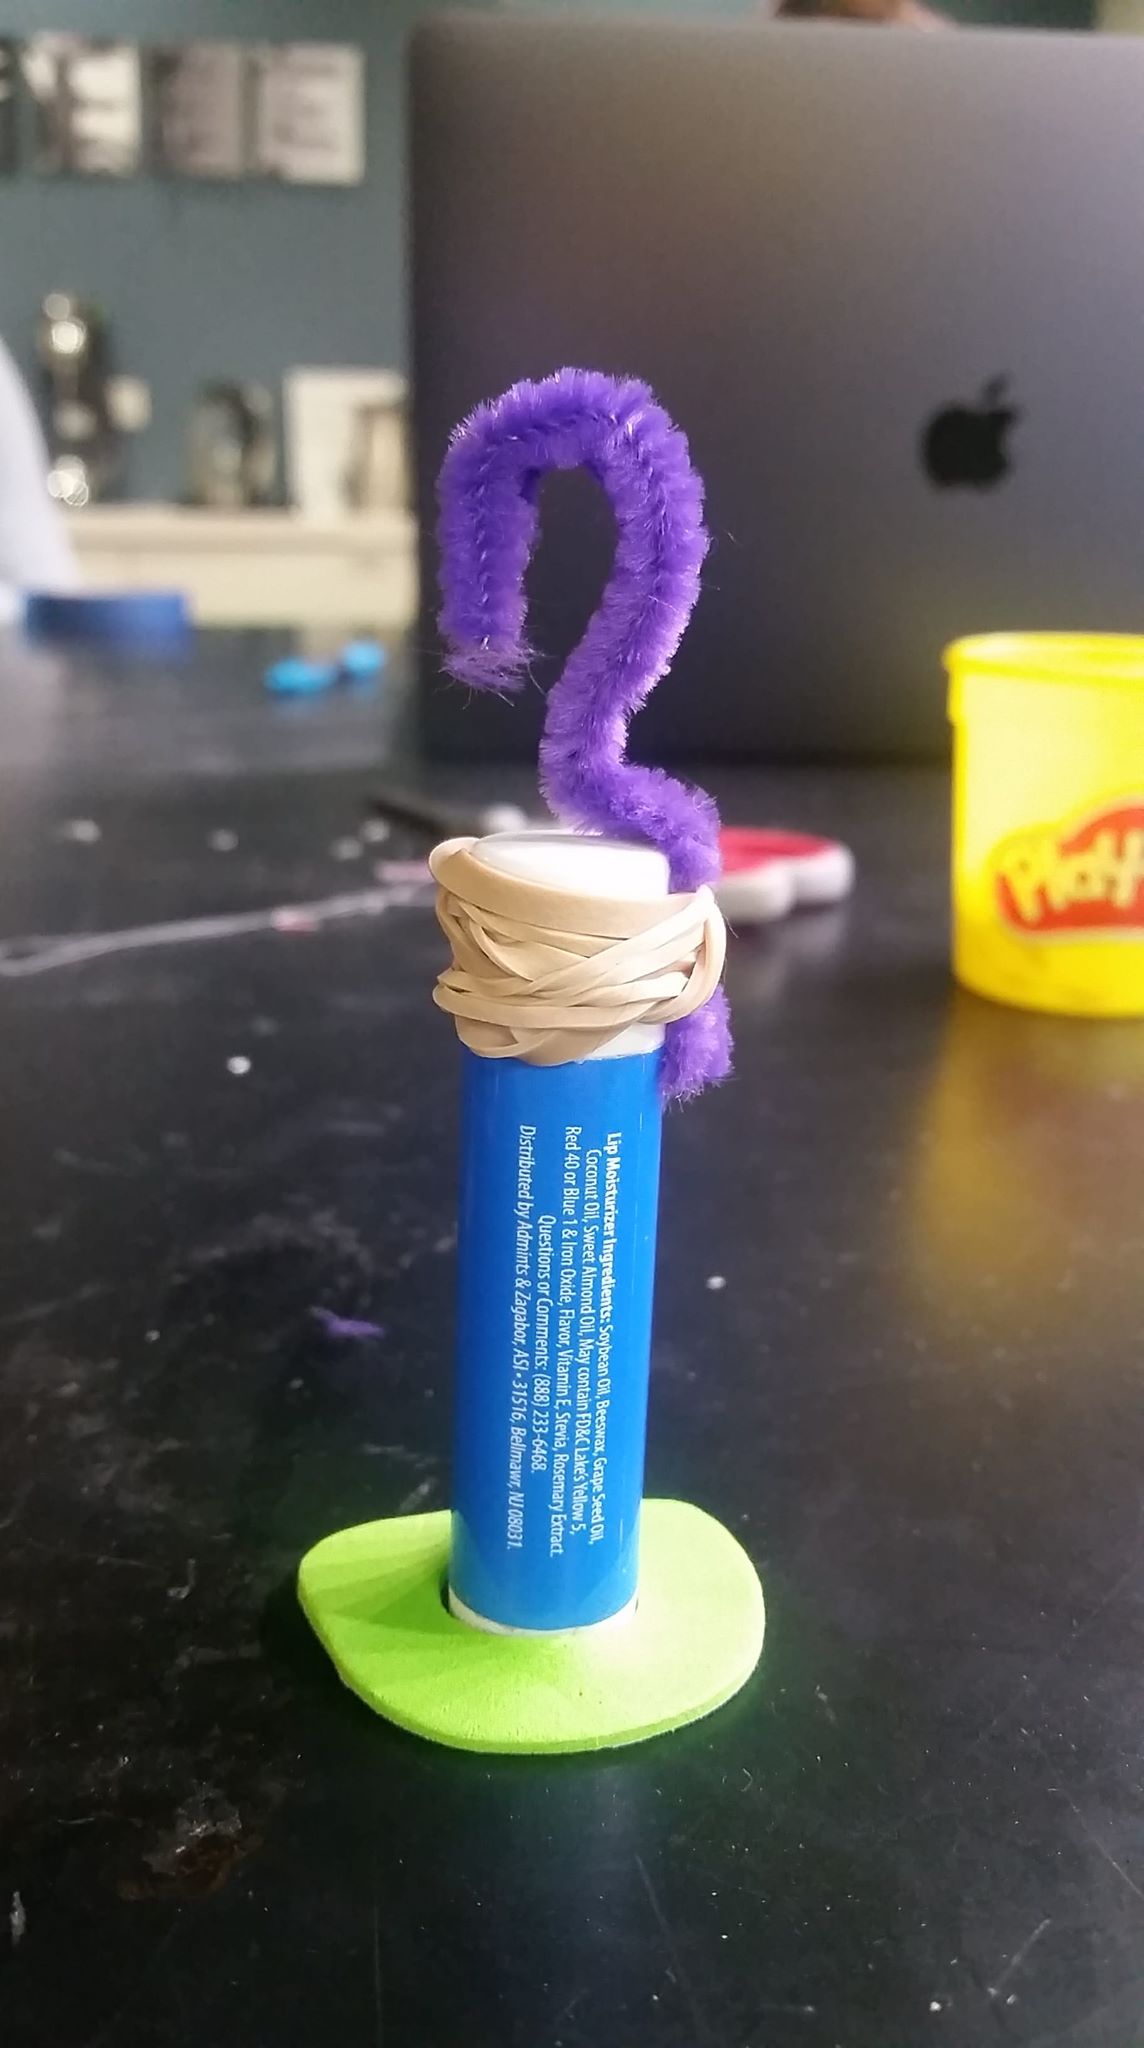
To prevent losing the cap, a lot of our designs involved having the cap connected to the body of the chapstick. Some designs connected the cap using rubberbands, while other designs connected the cap using pipecleaners, acting like the connector that one can find in Nalgene water bottles. Or as seen in the picture on the far left, we had a snapping mechanism where after taking the cap off, one can snap the cap back around the joint (brown and black pipecleaners).
Another shared characteristic among the prototypes was a loop on the cap (as seen on the right) so that one could open the chapstick by inserting their finger through the loop and then pull to take the cap off. This would lead to a bigger motion involved in opening the cap, making it easier for those with arthritis in their fingers, as seen on the right.
One design to aid with dispensing the chapstick was having a stick sticking out from the bottom of the chapstick horizontally. Essentially, to twist the chapstick or to dispense the chapstick, all one would need was to turn the stick around, like a lever. It would decrease the fine motor skills needed to twist the small end (on left).
Another design that aids dispensing the chapstick is having a disk at the bottom around the twisting portion (on right). One would put the figures around the disk to then indirectly twist the bottom.
One design involved making a bigger mold/casing where one could slip the chapstick in (on right). The mold would be bigger than the chapstick so that the chapstick would be easier to grip.
Narrow Down: By evaluating and comparing the pro’s and con’s of each design, we were able to narrow down on three design ideas that we wanted to continue with and test.
- Finger Hold: Pulling motion with one finger rather than gripping and pulling
- Finger Lever: Twisting with movement of forearm and hand rather than twisting with fingers
- D-shaped connector: Prevents losing cap
Future Plans: We plan on creating high-fidelity prototypes, perhaps even using 3D printing. We will be contacting Clarewood House, the retirement community we visited during immerse, to schedule a visit to test our prototypes.